TL;DR:
- A wedding photography setup involves deliberate planning of gear, lighting, and scheduling to capture meaningful moments. Proper equipment, a realistic timeline, and effective lighting techniques are essential for producing authentic and memorable wedding photos. Advanced preparation and backup systems ensure reliability, enabling photographers to adapt and deliver stunning images regardless of challenges.
A wedding photography setup is defined as the deliberate combination of camera gear, lighting strategy, and timeline planning required to capture every meaningful moment of a wedding day. Whether you are a couple coordinating with your photographer or a photographer building your system from scratch, the decisions you make before the first shutter click determine the quality of every image you take home. This wedding photography setup guide covers the gear you need, how to build a realistic schedule, which lighting techniques work in real venues, and how to frame shots that feel alive rather than posed. Get these four elements right, and the photos will speak for themselves.
What essential gear do you need for wedding photography setup?
Professional wedding photography requires a minimum of two full-frame camera bodies with a lens set spanning from wide angle to telephoto. Two bodies are not a luxury. If one fails mid-ceremony, you keep shooting without missing a beat.
The core lens set
The lens trinity for weddings covers three focal ranges: a 16–35mm for wide reception and venue shots, a 24–70mm for ceremony coverage and group portraits, and a 70–200mm for candid moments from a distance. Fast primes at 35mm and 85mm round out the kit for low-light situations like dimly lit reception halls. Each lens serves a specific purpose, so carrying all of them is not optional.
Essential vs. optional gear
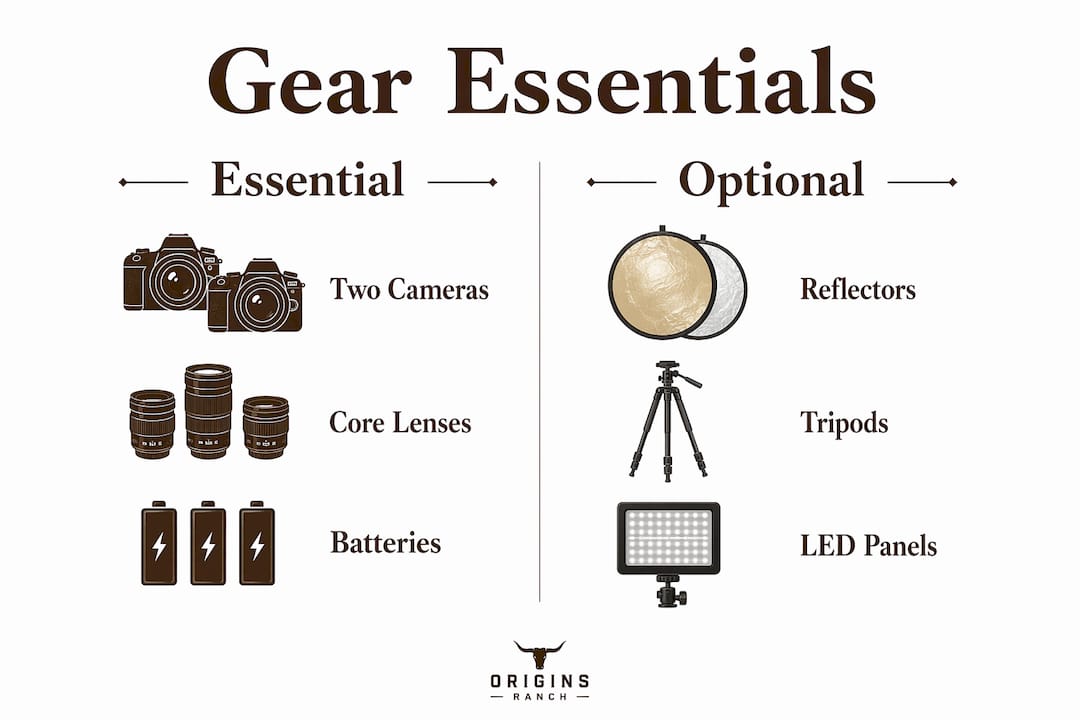
| Category | Essential | Optional |
|---|---|---|
| Camera bodies | Two full-frame bodies with dual card slots | Third body as backup |
| Lenses | 24–70mm, 70–200mm, fast prime | 16–35mm wide angle |
| Flash | On-camera speedlight, extra batteries | Off-camera strobe system |
| Storage | Multiple memory cards, two external SSDs | NAS local storage |
| Carrying system | Camera bag | HoldFast MoneyMaker harness |
| Lighting modifiers | Reflector | LED continuous panels |
Beyond the camera and lenses, your wedding photo equipment tips list must include multiple batteries, at least eight memory cards, and a reliable carrying system. Running out of power or storage during a first dance is not recoverable.
Pro Tip: The HoldFast MoneyMaker harness lets you carry two full-frame bodies across your chest and swap between them in seconds without setting anything down. At a fast-moving reception, that speed is the difference between catching a moment and missing it.
Reflectors and tripods belong in your bag for portraits and low-light ceremony shots. A collapsible 5-in-1 reflector costs under $40 and replaces a second light source in many outdoor situations. Do not overlook it.
How do you plan a realistic wedding photography timeline?
A realistic wedding timeline includes at least 30 minutes of buffer time built into every major block. That buffer absorbs late arrivals, wardrobe issues, and the inevitable moment when the florist needs five more minutes. Share the full timeline with your DJ, officiant, and planner at least two weeks before the wedding.
The four core photography blocks are:
- Pre-ceremony (90–120 minutes before): Bridal prep, detail shots of rings, shoes, and invitations, and first-look portraits if planned.
- Ceremony (variable, typically 20–60 minutes): Processional, vows, ring exchange, and recessional. Position one photographer at the altar and one in the aisle.
- Family and group portraits (30–45 minutes immediately after ceremony): Schedule family photos post-ceremony while the group is still assembled and dressed. This is the most efficient window.
- Golden hour portraits and reception (60–90 minutes before sunset and through dinner): Couple portraits during golden hour, then candid reception coverage.
Pro Tip: Share your shot list with the officiant before the ceremony. Some officiants restrict photographers from moving during vows. Knowing this in advance lets you pre-position for the best angle rather than scrambling.
For a deeper look at building a day-of schedule that actually holds together, the full-day wedding timeline guide at Originsranch walks through each block with timing examples.
Shot lists work best as flexible planning tools, not rigid scripts. Use them to identify the 10 to 15 non-negotiable images, then let the day breathe. Forcing every shot on a printed list produces stiff, contrived photos and causes you to miss the candid moments that make a wedding album feel real.
What are the best lighting techniques and camera settings for weddings?
Golden hour, the 60 minutes before sunset, produces the most flattering natural light for couple portraits. The warm, directional quality of that light wraps around faces in a way that no studio strobe can replicate. If your timeline does not allow golden hour portraits, open shade near a light-colored wall or sandy ground provides a strong alternative by reflecting soft, neutral light onto your subjects.
Outdoor vs. indoor lighting comparison
| Scenario | Recommended Technique | Key Settings |
|---|---|---|
| Golden hour outdoors | Shoot with sun behind subject, expose for face | f/2.0, 1/500s, ISO 100–400 |
| Open shade outdoors | Use reflector to fill shadows | f/2.8, 1/250s, ISO 200–800 |
| Indoor ceremony, dim light | Raise ISO, use fast prime, avoid flash if restricted | f/1.8, 1/100s, ISO 1600–6400 |
| Indoor reception | Bounce flash off ceiling, balance with ambient | f/2.8, 1/60s, ISO 800–3200 |
| Mixed light (window + overhead) | Expose for window, use flash to fill | f/2.8, 1/125s, ISO 400–1600 |
For indoor and low-light situations, the most common mistake photographers make is pointing flash directly at subjects. Direct flash flattens faces and creates harsh shadows behind people. Bounce your speedlight off a white or light-gray ceiling to spread the light naturally. If the ceiling is dark or too high, use a small diffuser dome and aim the flash at a 45-degree angle.
Continuous LED panels are worth carrying for getting-ready shots and detail photography. They give you a consistent, adjustable light source without the recycle time of a strobe. Brands like Godox and Aputure make compact panels that fit in a camera bag side pocket.
Pro Tip: For outdoor wedding photography tips at venues with unpredictable shade, carry a sunset lighting reference so you can quickly identify the best natural light windows at any location.
How do angles and composition capture authentic wedding moments?
Composition is the skill that separates technically correct photos from emotionally powerful ones. The angle you choose tells the story. A low angle during the processional makes the aisle feel grand. A high angle during the first dance captures the crowd's reaction alongside the couple.
Posing for wedding photos works best when it feels like direction rather than instruction. Instead of saying "put your hand here," say "walk toward me slowly" or "whisper something in her ear." Movement and interaction produce natural expressions. Static poses produce the stiff, catalog-style images couples regret seeing in their albums.
For candid coverage, position yourself at the edges of the room and use a 70–200mm lens to compress distance. You become invisible at that focal length. Guests stop performing for the camera, and you capture genuine laughter, tears, and connection.
Analyzing 3–4 key shots per wedding segment before the day, including hand placement, foot position, and body angle, prepares you to direct quickly without hesitation. Hesitation on a wedding day reads as uncertainty, and couples feel it.
- Position one photographer at the altar and one at the back of the aisle during the ceremony.
- Use a 35mm or 50mm prime for getting-ready shots in tight spaces.
- Shoot from slightly above eye level for flattering portraits and slightly below for dramatic wide shots.
- During toasts, keep one eye on the speaker and one on the couple's reaction.
- Work the edges of the dance floor, not the center, to capture authentic crowd energy.
What are common wedding photography challenges and how do you fix them?
Every wedding presents obstacles. The photographers and couples who handle them well are the ones who prepared for them in advance.
- Gear failure: A camera body dies mid-reception. This is why dual card slots and two bodies are non-negotiable. Every image writes to two cards simultaneously. You never lose a shot.
- Timeline delays: The ceremony runs 20 minutes long. Cut family portrait combinations in advance so you know which groupings to drop first. Protect couple portraits and golden hour at all costs.
- Difficult lighting environments: A dark reception hall with colored uplighting is a nightmare for auto white balance. Set a custom white balance or shoot in RAW and correct in Lightroom or Capture One in post.
- Intrusive guests with phones: Communicate with the officiant about an unplugged ceremony. When guests lower their phones, you get clear sightlines and genuine expressions.
- Post-wedding data loss: Multi-layered backup systems are the professional standard. Write to two external SSDs simultaneously the night of the wedding, then upload to a cloud service like Backblaze within 48 hours. A local NAS adds a third layer of redundancy.
"Shot lists should be conversation starters rather than strict instructions. Preserving spontaneity and emotional connection matters more than checking every box." — Brides.com
For couples coordinating with their photographer, a step-by-step wedding checklist helps you ask the right questions before the wedding day arrives.
Key takeaways
A successful wedding photography setup depends on the right gear, a buffer-padded timeline, and lighting decisions made before the day begins.
| Point | Details |
|---|---|
| Two camera bodies are required | One body is a single point of failure; always carry a second full-frame body with dual card slots. |
| Build buffer time into every block | Include at least 30 minutes of padding per major segment and share the timeline with all vendors. |
| Golden hour is your best light | Schedule couple portraits in the 60 minutes before sunset for the most flattering natural light. |
| Shot lists guide, they do not govern | Use your list for family formals and key beats, then trust instinct for candid coverage. |
| Backup data immediately after the shoot | Write to two SSDs the same night and upload to cloud storage within 48 hours to protect every image. |
What we have learned after watching hundreds of weddings unfold
We have seen a lot of wedding days at Originsranch. Photographers arrive with different gear, different styles, and different levels of experience. The ones who consistently deliver stunning results share one trait: they know their equipment so well that they stop thinking about it.
Knowing how to deploy equipment effectively matters far more than owning the most expensive gear. We have watched photographers with mid-range Sony mirrorless bodies outperform photographers with top-tier Canon setups, simply because they understood their tools and adapted to the room. A dim barn reception or a sun-drenched outdoor ceremony rewards preparation, not price tags.
The other thing we have noticed is that the couples who feel most comfortable in front of the camera are the ones whose photographers took time to connect with them before the day. A 20-minute engagement session or even a phone call to talk through the day builds the kind of trust that shows up in every photo. Stiff shoulders and forced smiles disappear when couples feel seen, not directed.
Our honest advice: invest in a barn venue wedding workflow that accounts for the specific light and space of your venue. Every location has its own personality. The photographers who scout the space, ask about ceiling height and window placement, and plan their flash strategy in advance are the ones who deliver photos that feel like the place, not just the people.
— Origins
See how beautiful wedding photography looks at Originsranch
At Originsranch in Plant City, FL, our barn venue was built for moments worth photographing. The warm wood tones, open fields, and natural light that pours through our space give photographers everything they need to create images that feel timeless.
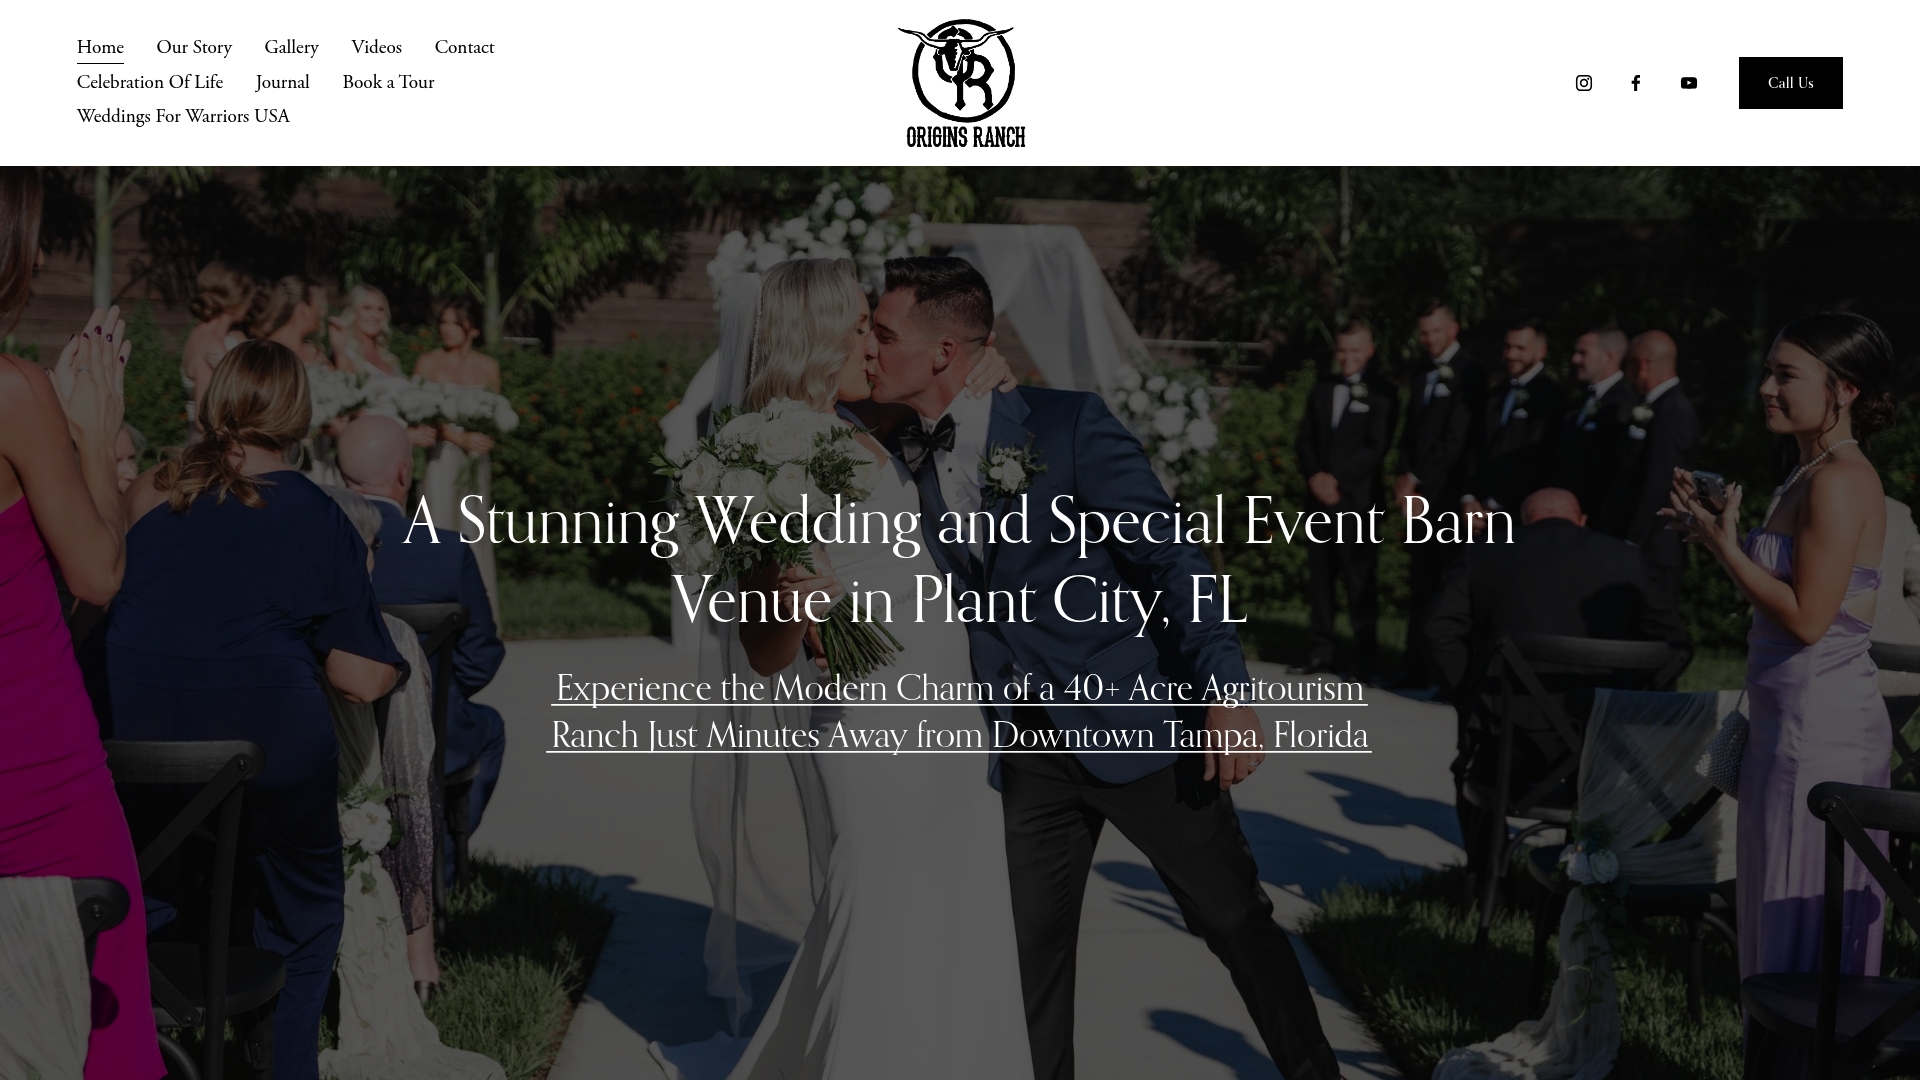
We have hosted hundreds of weddings, and we know what makes a photography-friendly venue. From golden hour portraits in our open fields to candid reception shots in our elegantly lit barn, every corner of Originsranch is designed with beauty in mind. Our founder Barry brings over 20 years of event experience to every celebration, and our team coordinates directly with your photographer to keep the day on schedule. Explore our wedding photo gallery to see the magic for yourself, and reach out to start planning your perfect day.
FAQ
What gear is required for professional wedding photography?
Professional wedding photography requires two full-frame camera bodies, a lens set spanning 24mm to 200mm, on-camera flash, multiple batteries, and several memory cards. A camera harness like the HoldFast MoneyMaker improves efficiency during fast-moving events.
How much buffer time should a wedding photography timeline include?
A realistic wedding timeline includes at least 30 minutes of buffer per major block, with 60–90 minutes reserved for couple portraits if multiple locations are planned. Share the timeline with your DJ, officiant, and planner in advance.
What are the best camera settings for outdoor wedding portraits?
For golden hour outdoor portraits, shoot at f/2.0 to f/2.8, 1/250s to 1/500s shutter speed, and ISO 100–400. Open shade situations may require ISO 200–800 with a reflector to fill shadows.
Should couples give their photographer a shot list?
Shot lists work best as flexible guides for family formals and key story moments, not rigid scripts. Treating them as conversation starters rather than strict instructions preserves spontaneity and produces more authentic images.
How should photographers back up wedding photos after the shoot?
Write images to two external SSDs simultaneously the night of the wedding, then upload to a cloud service like Backblaze within 48 hours. Adding a local NAS creates a third redundancy layer that protects against any single point of failure.